Find customers interested in products from specific category
Learn how to create list with your prestashop data and export it into CSV format
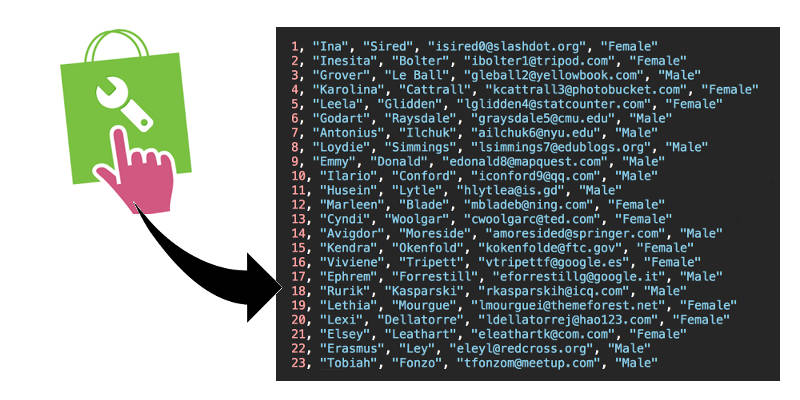
In this tutorial I’ll show you how to prepare list of your customers that have ordered at least one product from some specific category.
You can export this list to CSV format for further processing. For example, you can import the CSV file to your Mailchimp account and send a targeted marketing campaign to these customers.
Step 0: How about video?
You can watch the entire process described below in this short video. It’s still recommended to read the tutorial, though.
Step 1 - List of your customers
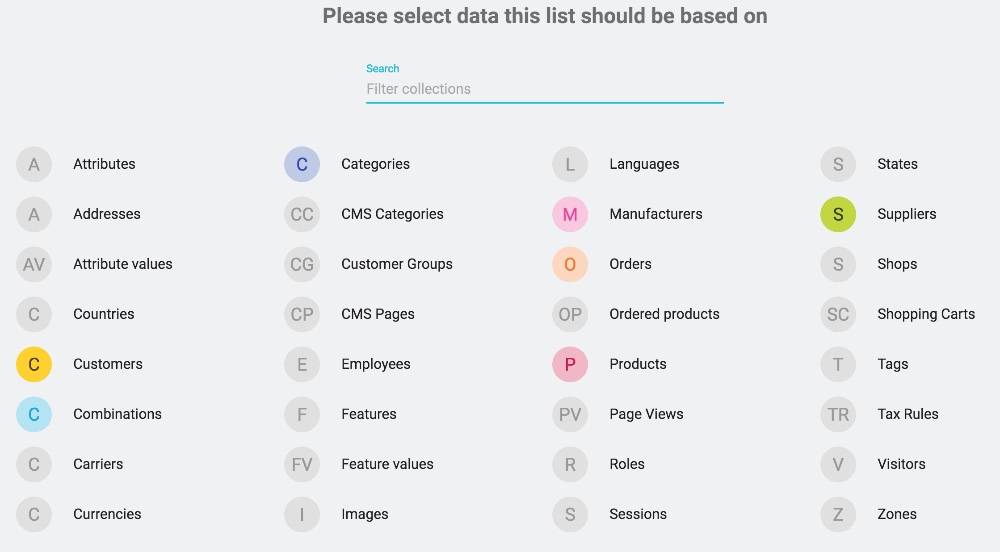
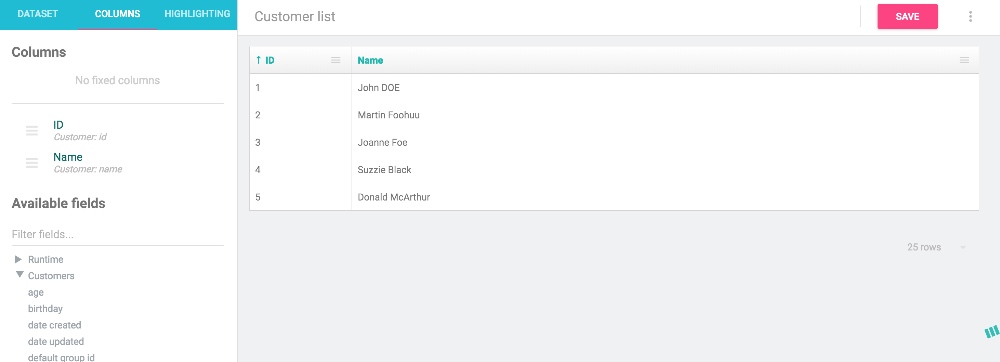
Because we want to generate list of customers let’s start by creating list based on customers record type. Navigate to Lists section of you datakick module, and click on Create new list. Select Customers from the available record types:
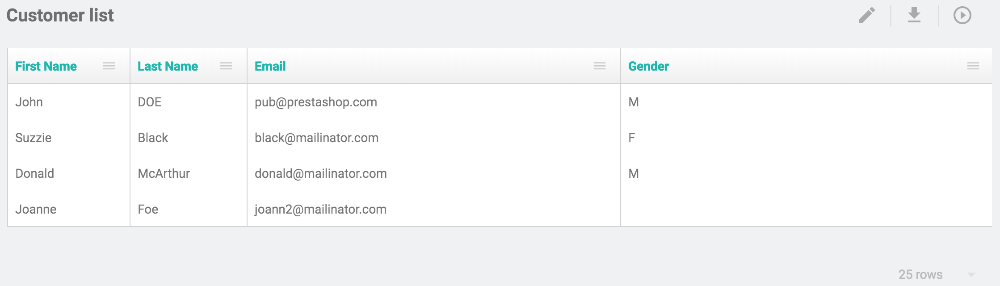
You now see unfiltered list of all your customers:
Step 2 - Find out products purchased by customers
All right, we have a list of customers. But we want to show only customers that have ordered products from some category.
Let’s start by expanding the list with information about ordered products. In left panel, select Dataset tab and then click on Join new collection. DataKick will show you all record types that can be linked to your list.

As you can see this list of available record types is quite small. This is because your list contains only information about customers, and customers can be linked only to these record types.
We want to filter on ordered products, so we will choose orders record type. DataKick will ask you to confirm the join:
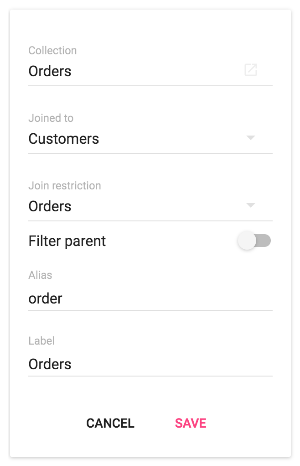
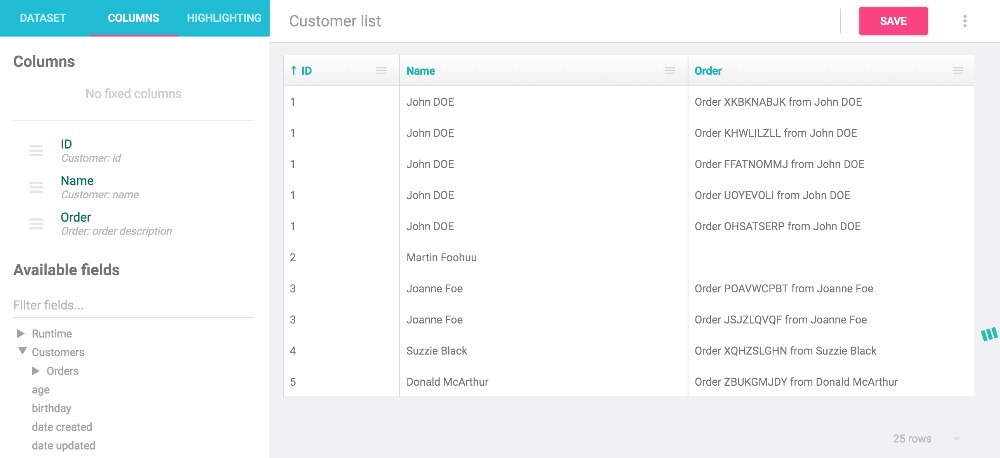
When you click on Save button the list will display all your customers together with their orders.
There is still one small problem - the list shows even those customers that didn’t place any order. We don’t want to see them, so let’s fix it.
In left panel, switch again to Dataset tab, and click on Customers: Orders collection. This will display the same form we have already seen. Turn on Filter parent and hit save. That will tell DataKick to filter out every customer without orders.
We are almost there. Now all we need to do is display products associated with these orders. Information about ordered products are stored in its own record type, so again we need to join this data to our list.
Switch to Dataset tab and click on Join new collection. The list of available record types for join is a little bit bigger. That’s because our list now contains two record types, and we can join to both of them. Let’s choose Ordered products collection.
Now the list contains information about customers, their orders, and ordered products. But ordered products are not products! Ordered product is actually a detail line from order, it contains information about ordered product, quantity, tax, or discount. If we want to access information about product itself (name, ean code, isbn…), you need one more join.
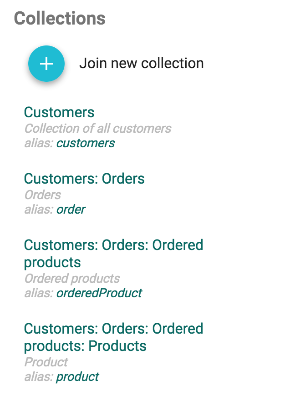
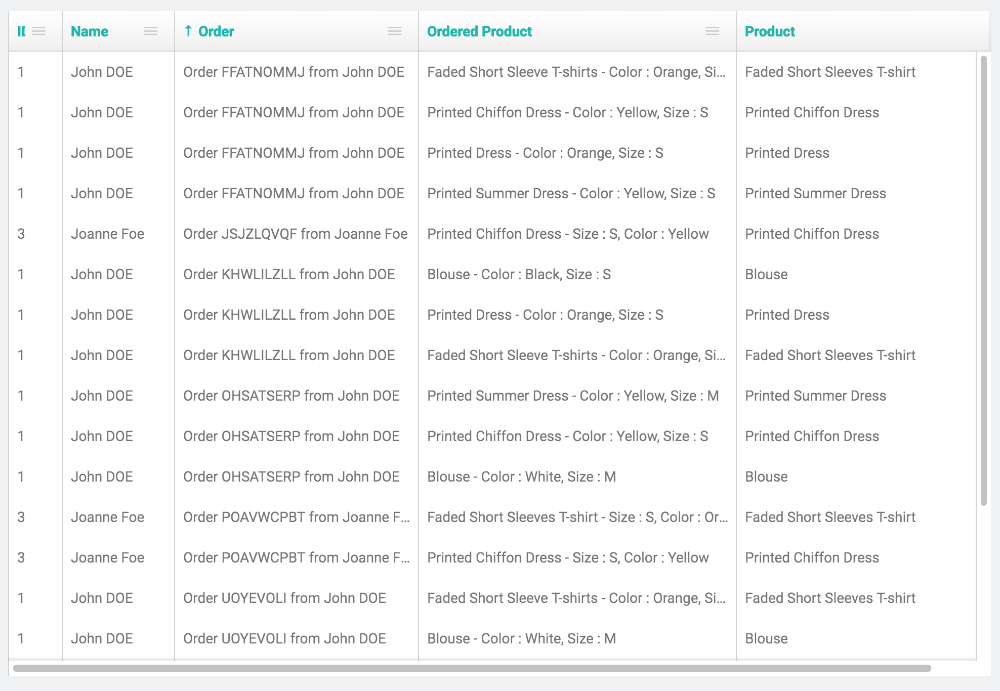
One last time, Join new collection, this time products. Collections section in Dataset tab should now look something like this:
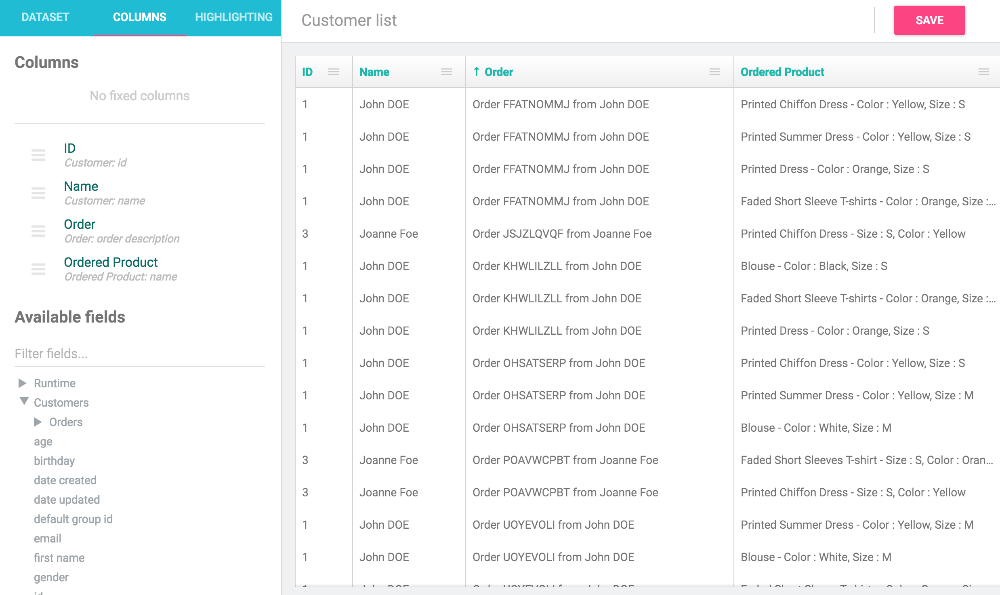
And list now looks like this:
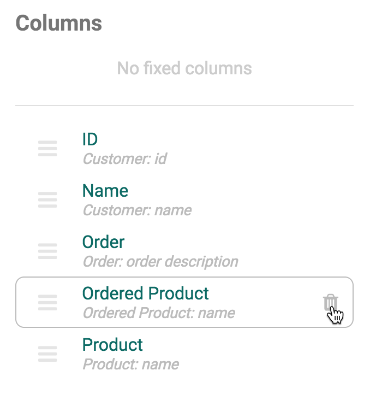
Let’s tidy things up. We don’t really want to see information about customer id or order name, so let’s remove these columns. In Columns tab, simply click on remove button on ID, Name, Order and Ordered product columns.
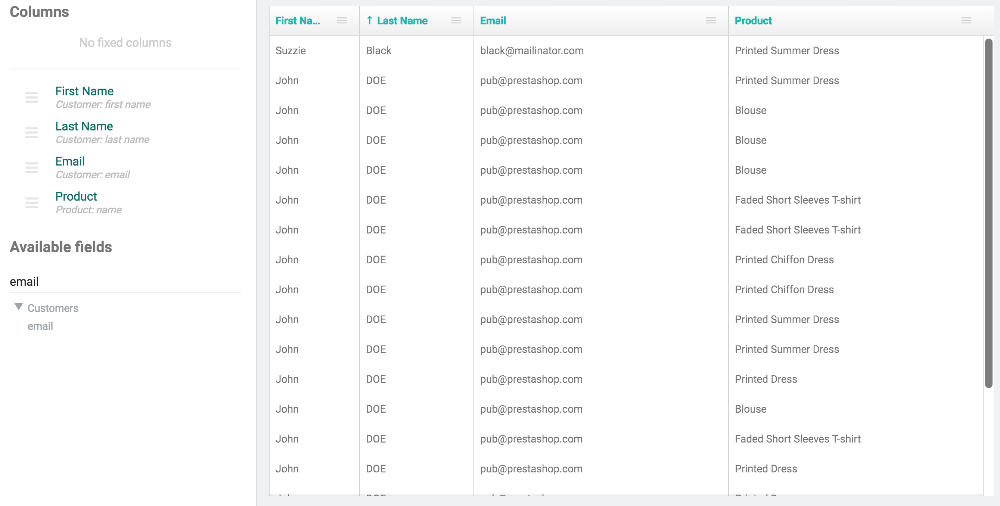
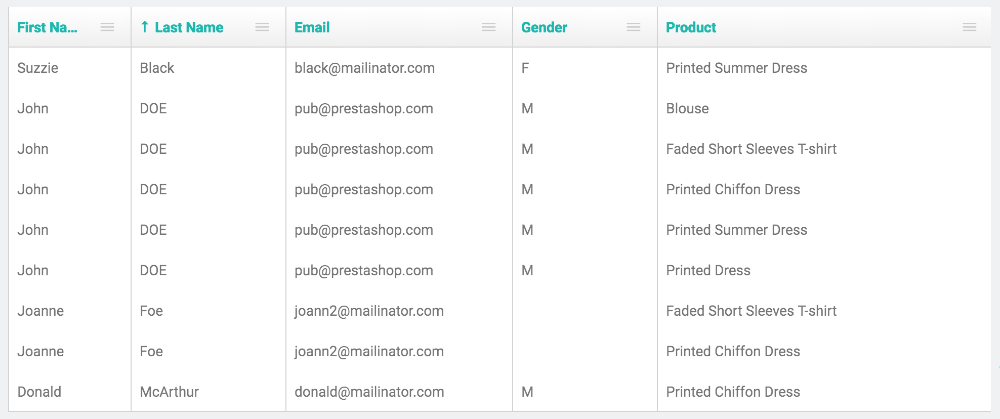
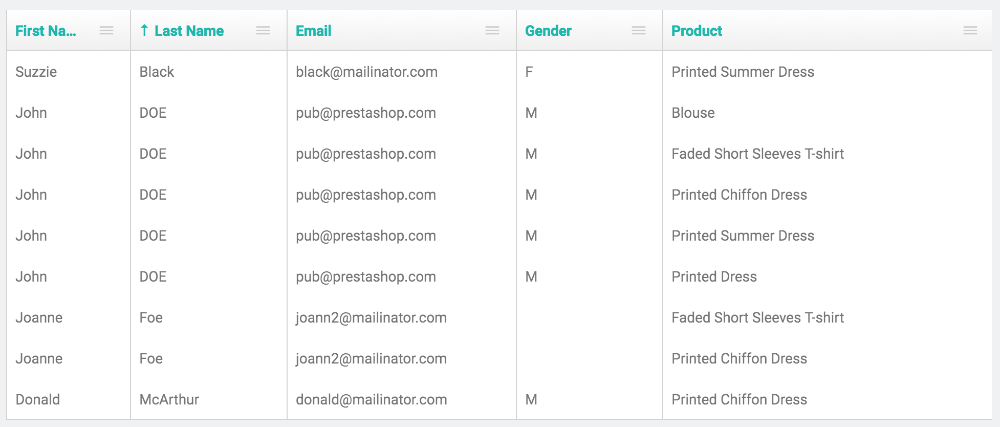
Now find and add First name, Last name, Email, and Gender columns from Available fields list.
Step 3 - Remove duplicates
If the same customer ordered the same product multiple times you will see duplicate rows. To get rid of them, switch to Dataset tab, and toggle Show distinct only on.
Step 4 - Show only products from specific category
Now we have a list of customers and all products they have ever purchased. That itself is quite useful. If you want to keep it simply save it. Once its saved, you can duplicate the template, and continue this tutorial with this clone.
Let’s filter the data and show only those products that belongs to certain category. Fortunately there already exists function called inCategory that can tell us if product belongs to a category:
inCategory(productId, categoryId)
This function requires two input parameters - product id, and category id. We will provide product id from our dataset, and category id will be constant.
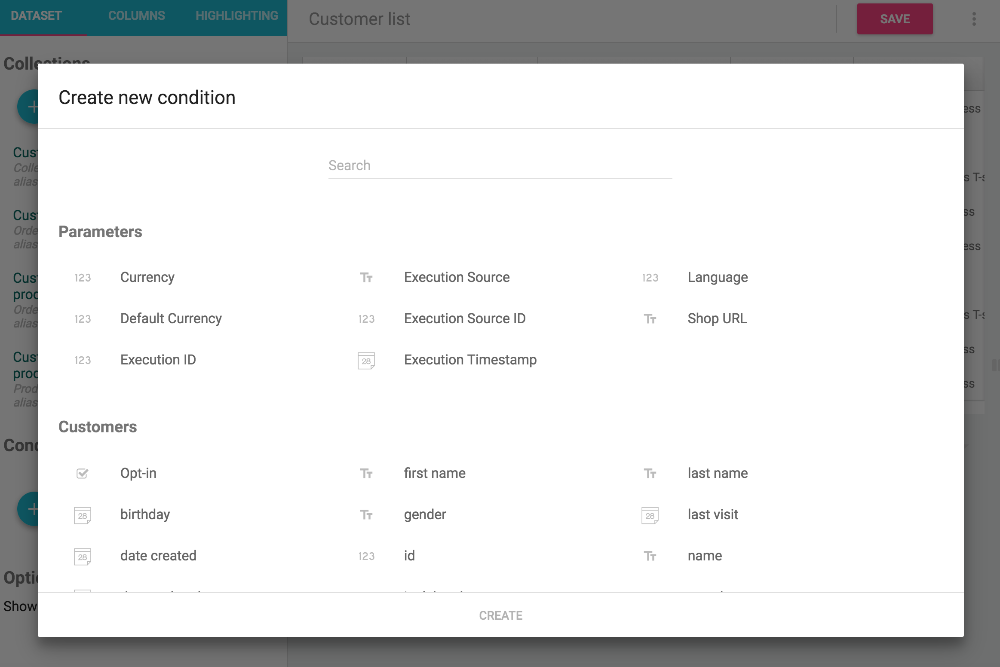
Go ahead and create a condition that utilizes this function. Switch to Dataset tab, and click on Add condition. A new popup window will appear and you will need to choose field you want to base this condition on. As you can see, every field from every joined collections is available for filtering. Use search functionality to find id field from Products record type:
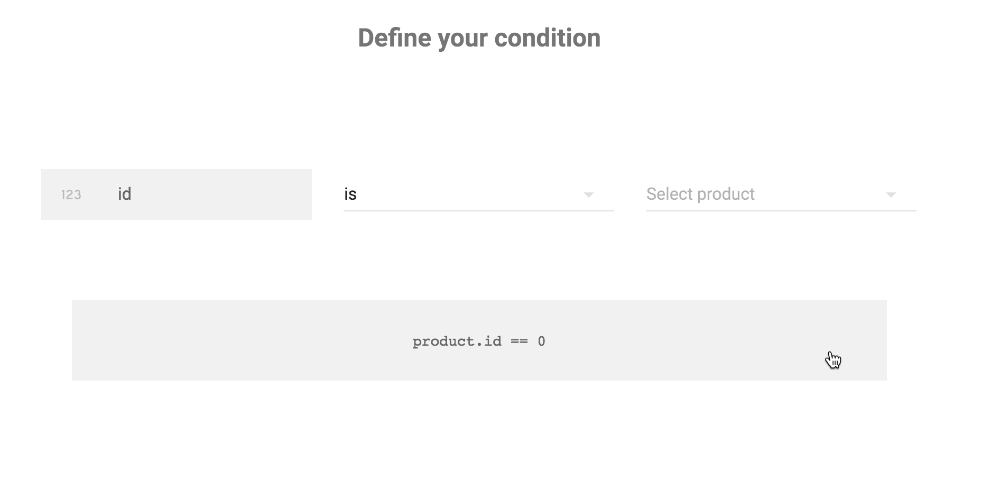
Once you choose field, you can select one of the predefined conditions. Unfortunately none of them can achieve our goal, so we need to switch to free mode and write the condition ourself. To do so, just click on the text area with product.id == 0
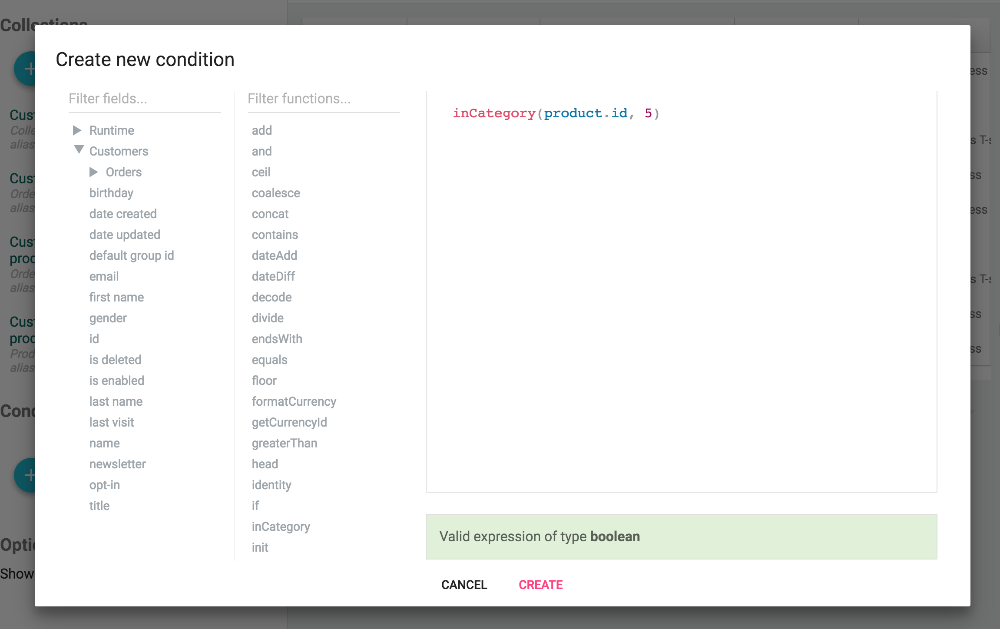
Now you can write whatever expression you can think of. Let’s use this one: inCategory(product.id, 5) where 5 is id of category we want to use for filtering:
Click on create and your list will be filtered accordingly.
Once you verify that only products from category 5 are shown (it should, otherwise please report this as a bug), you can delete Product column. This column causes duplicated customer emails in the result table. And we are done!